How Custom Plush Toys Are Made: The Full Manufacturing Process
Most buyers picture plush production as "cut fabric, sew it, stuff it." That's the outline, but it skips the parts that decide whether your bulk order looks like the sample you approved. After 18 years of running plush projects for brands, IP owners, and corporate clients, here's what actually happens on the factory floor — and where projects go wrong.
A custom plush toy is made in eight stages: design review, pattern making, sampling, fabric cutting, sewing, stuffing, hand finishing, and quality inspection. A standard toy takes 35–55 days from approved design to shipment, including 7–10 days for sampling and 25–35 days for bulk production. The hard part isn't any single step. It's keeping the approved sample and the 5,000-piece run identical.
Stage 1: Design Review and Spec Confirmation
Everything starts with your input. That can be a finished tech pack, a four-view drawing, a reference photo, or a rough sketch on a napkin. The more angles you give us, the fewer assumptions we have to make.
At this stage a good factory checks three things before quoting:
- Structure — how many separate panels the shape needs, where seams fall, whether limbs are jointed or fixed
- Proportions — head-to-body ratio, fur pile length, how size affects stuffing weight
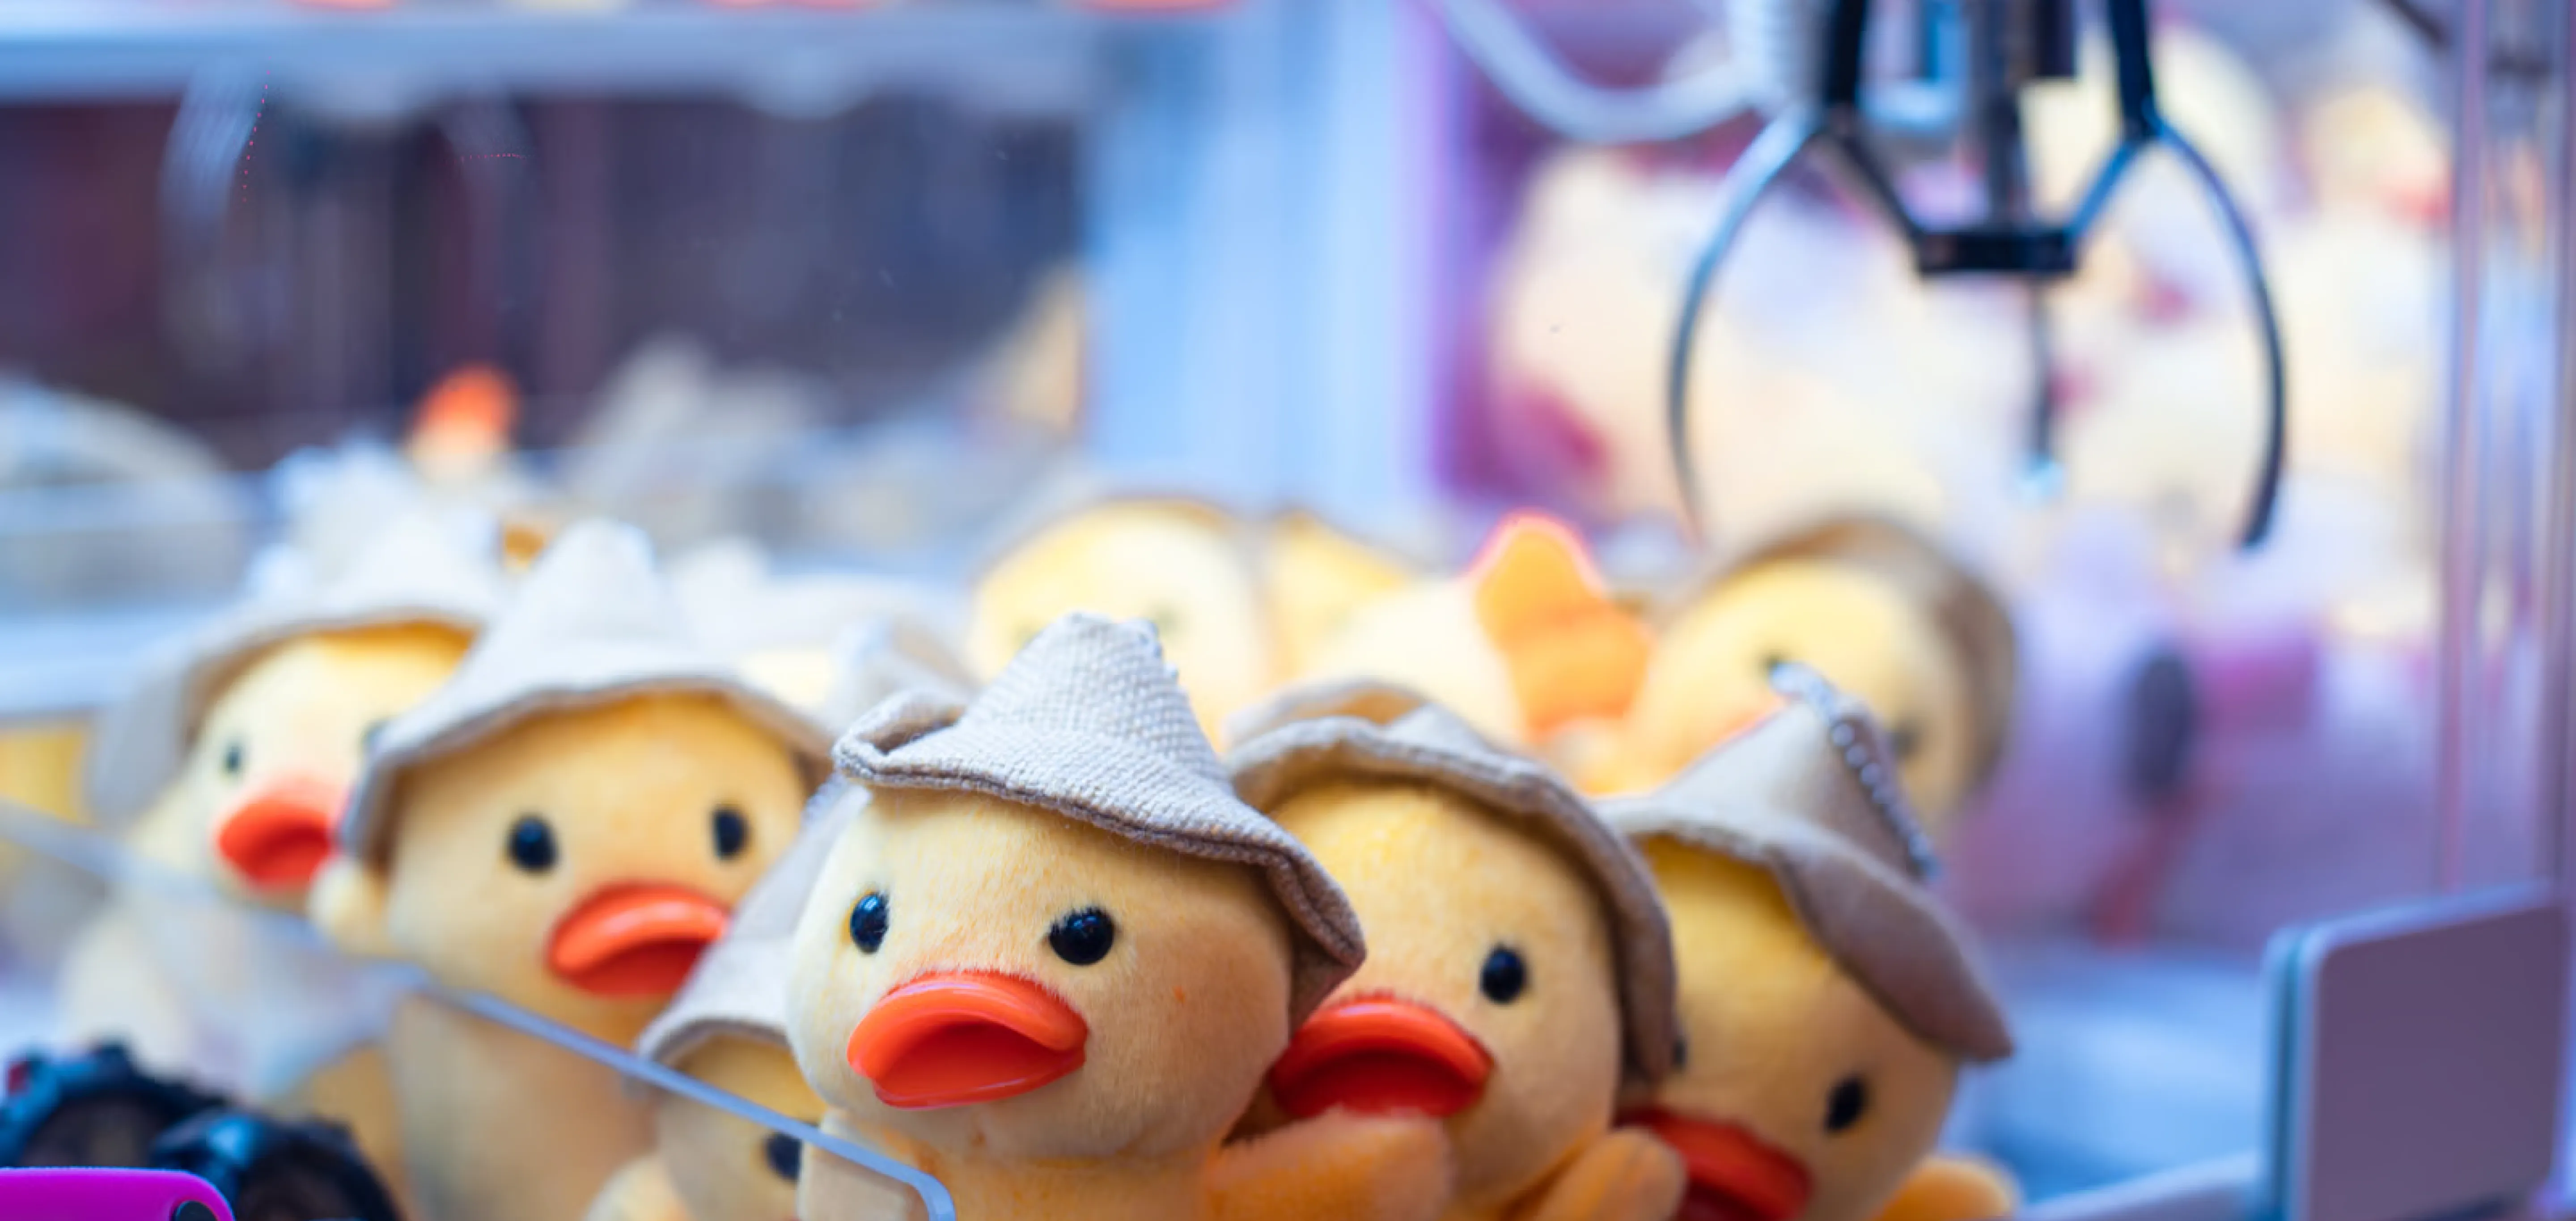
- Intended use — a claw machine prize gets handled thousands of times and needs tighter seams than a shelf display piece; a weighted plush needs internal pockets for the fill
This is also where we flag problems early. A design that looks great in 2D can collapse in 3D if the panel count is wrong. Catching that now saves a wasted sample round later.
Stage 2: Pattern Making
Pattern making is where a flat drawing becomes a set of cuttable shapes. A pattern maker breaks your design into individual panels — body, head, ears, limbs, tail, muzzle — and draws each as a flat template with seam allowances added.
There are two methods in use today:
| Method | How it works | Best for |
|---|---|---|
| Manual drafting | Patterns drawn and cut by hand from the design's three-view images | Most plush work; still the industry standard |
| Digital / 3D modeling | A 3D model is built, then software unfolds it into flat panels | Complex shapes, repeatable precision, large runs |
The more intricate the design, the more panels it takes, and the longer this stage runs. A simple plush animal might be 8–12 panels. A detailed mascot with a sculpted face can run 30 or more. Panel count drives both cost and sample timeline, which is why we lock the pattern before anything gets cut.
Stage 3: Sampling and Approval
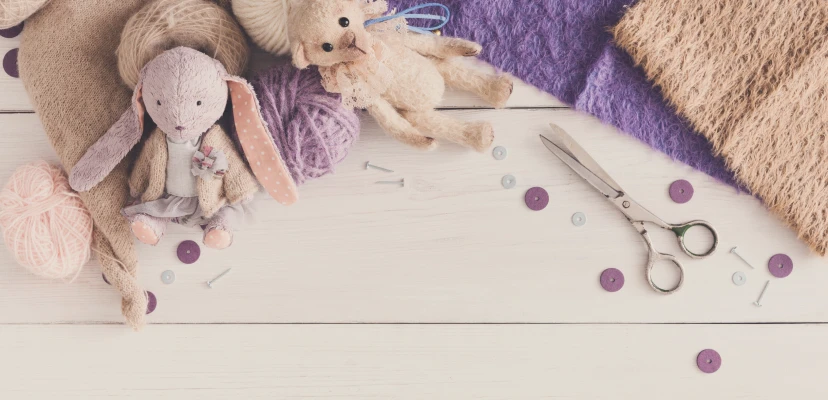
The first sample is hand-sewn by a senior technician using your confirmed pattern. This turns the flat panels into a 3D object for the first time, and it's the moment you find out whether the proportions, fabric, and face read the way you imagined.
A standard sample takes 7–10 business days after the design is locked. We share photos and video first, then ship a physical sample for hands-on review. Most projects need 1–3 revision rounds; complex faces or specific color matching can take more.
Approve the sample carefully. Once it's signed off, that physical sample becomes the production reference for the entire bulk run. Every inspection later checks against it. If the sample isn't right, the bulk order won't be either, so this is the step worth slowing down on.
Stage 4: Fabric Cutting
After sample approval and order confirmation, the factory calculates total fabric needed and orders it from the mills. Plush fabric sourcing usually takes about a week, so it overlaps with production scheduling.
Cutting follows the locked pattern. Three methods, chosen by order size and design complexity:
- Die cutting — metal dies stamped through stacked fabric in a press; fast and consistent for high volume
- Laser cutting — precise for intricate shapes and small parts, with sealed edges and minimal waste
- Hand cutting — fabric shears for delicate pieces or low-volume runs
Consistency here is non-negotiable. Every panel has to match the approved sample's dimensions, or the assembled toys will drift in shape across the run.
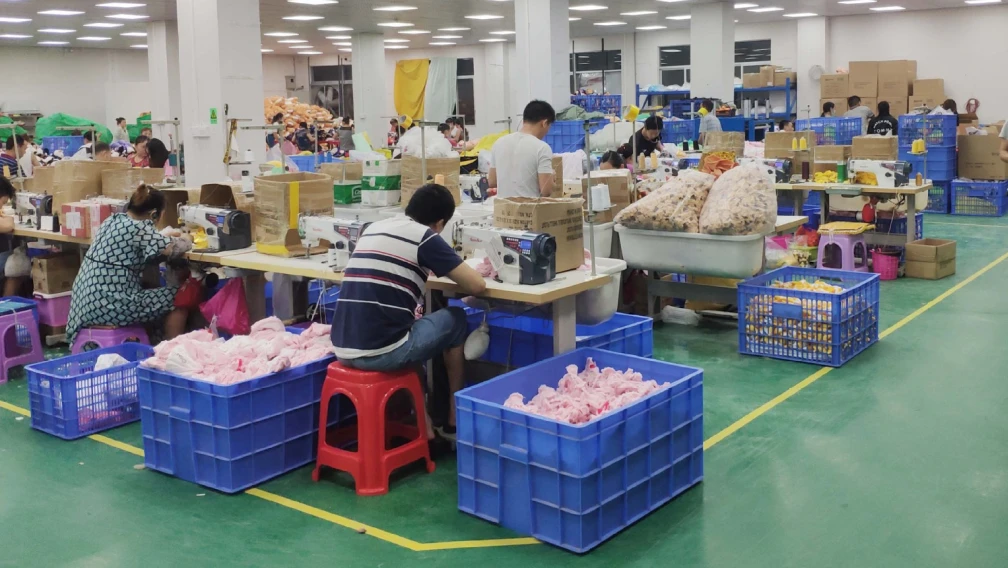
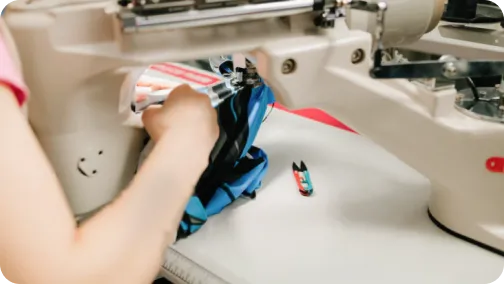
Stage 5: Sewing and Assembly
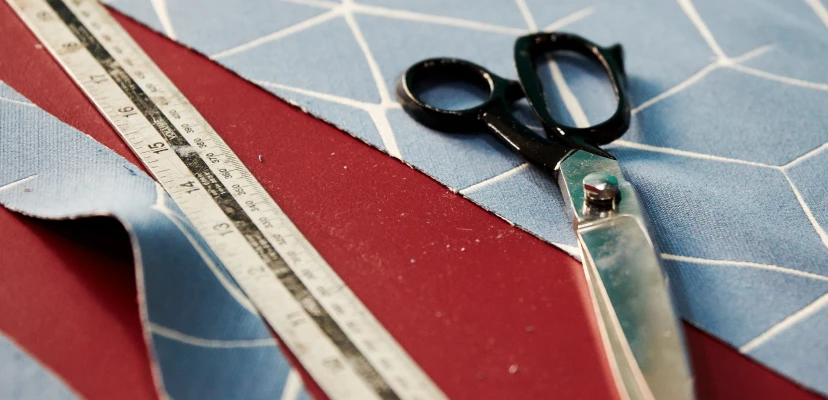
Cut panels move to the sewing line. Most pieces are stitched together inside out, so the seams end up hidden inside the finished toy. A small opening is left, usually in a seam, for stuffing access.
The line works in sequence: body and limbs first, then heads, then attachment. Facial features go on around this stage. Depending on the design:
- Embroidery for eyes, noses, and detail — most durable, child-safe, no detachable parts
- Printed features for flat graphics or fine artwork
- Safety eyes and molded parts locked in per the relevant standard when the design calls for them
Care labels and brand tags are sewn in here too. For toy markets, label content — washing instructions, material composition, age grading — is set to match your target country's rules.
Stage 6: Stuffing
The sewn shell gets filled, almost always with polyester fiberfill — it's soft, holds shape, washes well, and meets safety requirements. Other fills serve specific needs:
| Fill type | Use case |
|---|---|
| Polyester fiberfill | Standard; most plush toys |
| PP cotton | Common soft fill, good loft |
| Foam | Firmer structure, posable areas |
| Plastic pellets / beads | Weighted bases, weighted plush, bean-bag bodies |
| Recycled / eco fill | Sustainability-focused brands |
Stuffing is more skill than it looks. Fill has to reach every extremity — ear tips, paws, tail — evenly, or the toy looks lumpy and won't match the sample. Each piece is filled to a target firmness and, often, a target weight. Underfill and it sags; overfill and it distorts the pattern and feels hard. For claw machine plush, fill density is tuned so the toy is firm enough to grab but soft enough to stay appealing.
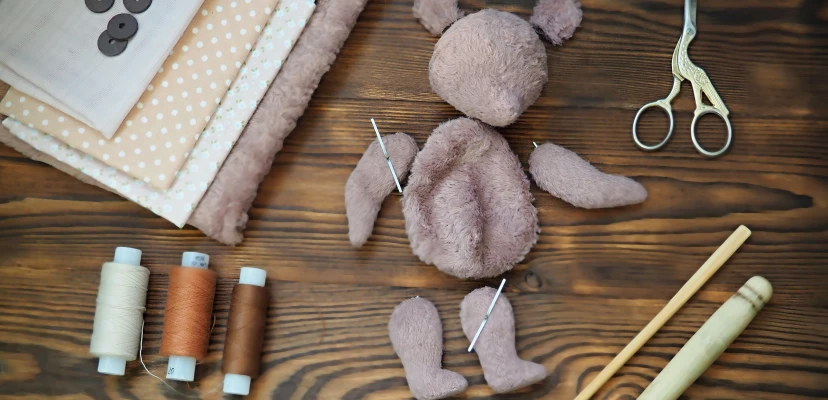
Stage 7: Hand Finishing
Once stuffed, the filling opening is closed by hand with a ladder (invisible) stitch, so the seam disappears. This is deliberately a manual step — hand closing gives a clean finish and locks the stuffing in securely.
Finishing also covers the details that make a toy look professional: brushing out the fur along seams so stitch lines vanish, trimming stray threads, attaching accessories like clothing, scarves, or keychain hardware, and steaming the piece into its final shape.
Stage 8: Quality Inspection
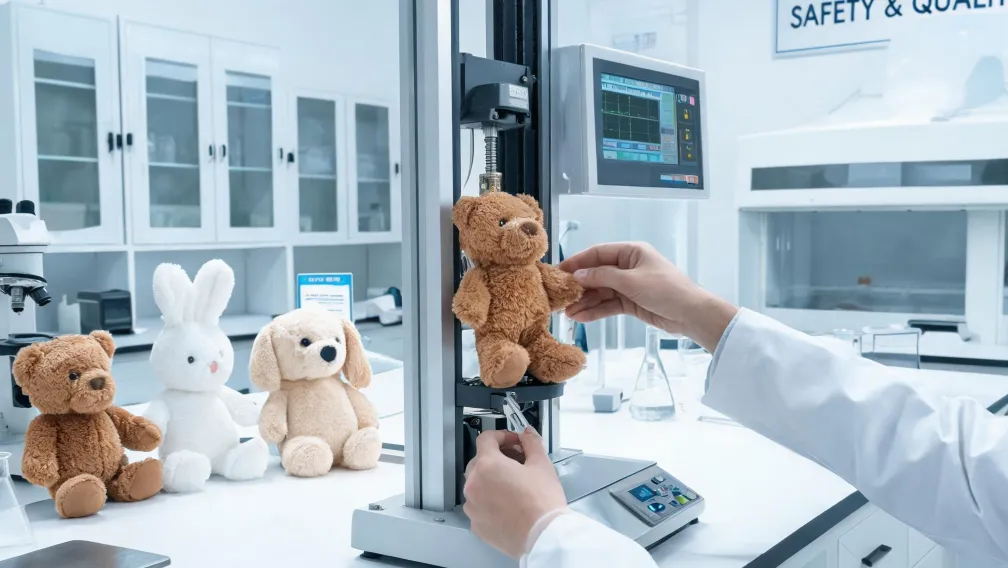
Every batch is inspected against the approved sample — shape, size, color, stitching, fill weight. Beyond visual checks, plush for children goes through safety testing built around the destination market:
| Standard | Market |
|---|---|
| EN71 | European Union |
| ASTM F963 | United States |
| CPSIA | United States (chemical / lead limits) |
| AS/NZS 8124 | Australia / New Zealand |
| GB 6675 | China |
| ST2002 | Japan |
Testing covers seam strength, small-parts and choking-hazard checks, flammability, and chemical limits (formaldehyde, lead, phthalates). Accredited third-party labs — SGS, Bureau Veritas, Intertek — issue reports per production batch, not just per design. That batch-level testing matters: it's your proof the toys shipped are the toys that passed.
Where Bulk Orders Actually Go Wrong
The eight stages are standard across the industry. What separates a reliable factory from a risky one is consistency between the sample you approved and the thousands of units that ship months later. The common failure points:
- Pattern drift — bulk panels cut slightly off the approved pattern, so shape wanders across the run
- Fill inconsistency — stuffing weight varies unit to unit, so some toys feel firm and others sag
- Fabric swaps — a different dye lot or a cheaper pile substituted after approval
- Skipped batch testing — one design tested, then later batches shipped untested
A factory with an in-house design, pattern, and production team under one roof controls all four. When sampling and bulk happen in the same building with the same people, the approved sample stays the reference at every step. That's the core of how we keep what you approve and what you receive the same thing.
Get a Quote on Your Plush Project
If you have a design, a drawing, or just a concept, send it over with your target quantity and market. We'll review the structure, confirm a workable MOQ and timeline, and walk you through sampling. Share your plush idea and we'll take it from there.
FAQ
A typical project runs 35–55 days end to end: 7–10 business days for sampling after the design is confirmed, then 25–35 days for bulk production once you approve the sample. Order size, design complexity, and season all affect the timeline. You should get a written production schedule before order confirmation.
Yes. A photo, sketch, four-view drawing, or finished tech pack all work as a starting point. The more reference angles you provide, the more accurately the pattern maker can translate it into 3D. Our team refines the concept into a production-ready pattern, then samples it for your approval before bulk.
The outer fabric is usually a synthetic pile — polyester plush, minky, or velboa — chosen for softness, color retention, and durability. The fill is most often polyester fiberfill; PP cotton, foam, plastic pellets, and recycled fills are used for specific needs. Eyes and noses are typically embroidered for safety, or molded safety parts where the design requires.
It depends on product type, size, and complexity. Most standard custom plush runs from 300–500 pieces per design. Smaller items like keychains can start lower, while large mascots and complex multi-part pieces may begin around 100. The workable MOQ is confirmed at the quotation stage.
They are when made to the right standard for your market — EN71 in Europe, ASTM F963 and CPSIA in the US, and equivalents elsewhere. Safety covers seam strength, choking-hazard and small-parts checks, flammability, and chemical limits. Insist on third-party lab reports (SGS, Bureau Veritas, Intertek) issued per production batch, not just for the initial sample.
Almost always it's a consistency breakdown: pattern drift in cutting, uneven stuffing weight, or a fabric or dye-lot swap after approval. The fix is having design, pattern-making, and production under one roof, with every batch inspected against the physical approved sample. That keeps the sample and the bulk run aligned.