How to Prepare Artwork for Custom Plush Production: Files, Views, and Specs That Get an Accurate Sample

The biggest reason a first plush sample comes back "close, but not quite right" is the file it was built from. We build from the artwork and specs you give us. If a detail isn't in the file, our pattern makers have to guess, and a guess on a face or a proportion is where a character starts to drift. A solid brief gets the first sample close. A thin one costs you revision rounds and lost weeks.

This is the checklist from our side of the table: the files we actually use, how many views we need, the measurements and color references that matter, how to map fabric and fill to each body part, and the structural and safety notes to settle before anyone cuts fabric. Whether you have a finished tech pack or a single sketch, it tells you what to send and why each piece changes the result.

What do you need to send a plush manufacturer? At a minimum: clear artwork showing the character from at least three angles (front, side, back), the target size in millimeters, color given as Pantone references, and notes on fabric, fill, and any accessories or functional features. Vector files (AI, EPS, PDF, SVG) work best for logos and anything embroidered; high-resolution raster files (PNG, TIF, PSD at 300 dpi or higher) carry color and painted detail. You don't need to supply embroidery or pattern files. Turning your artwork into stitch files and sewing patterns is our job.

What Plush Artwork Really Is

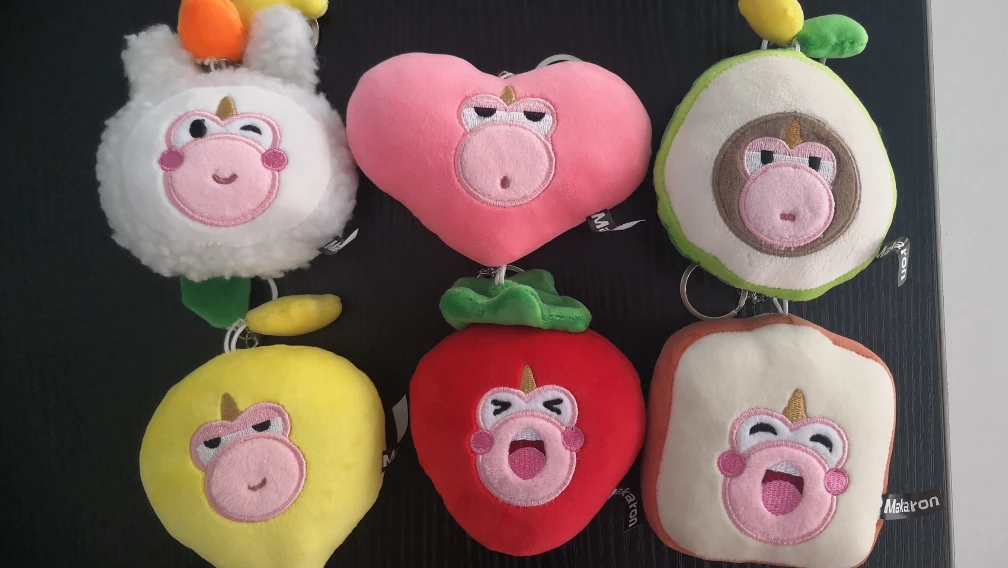
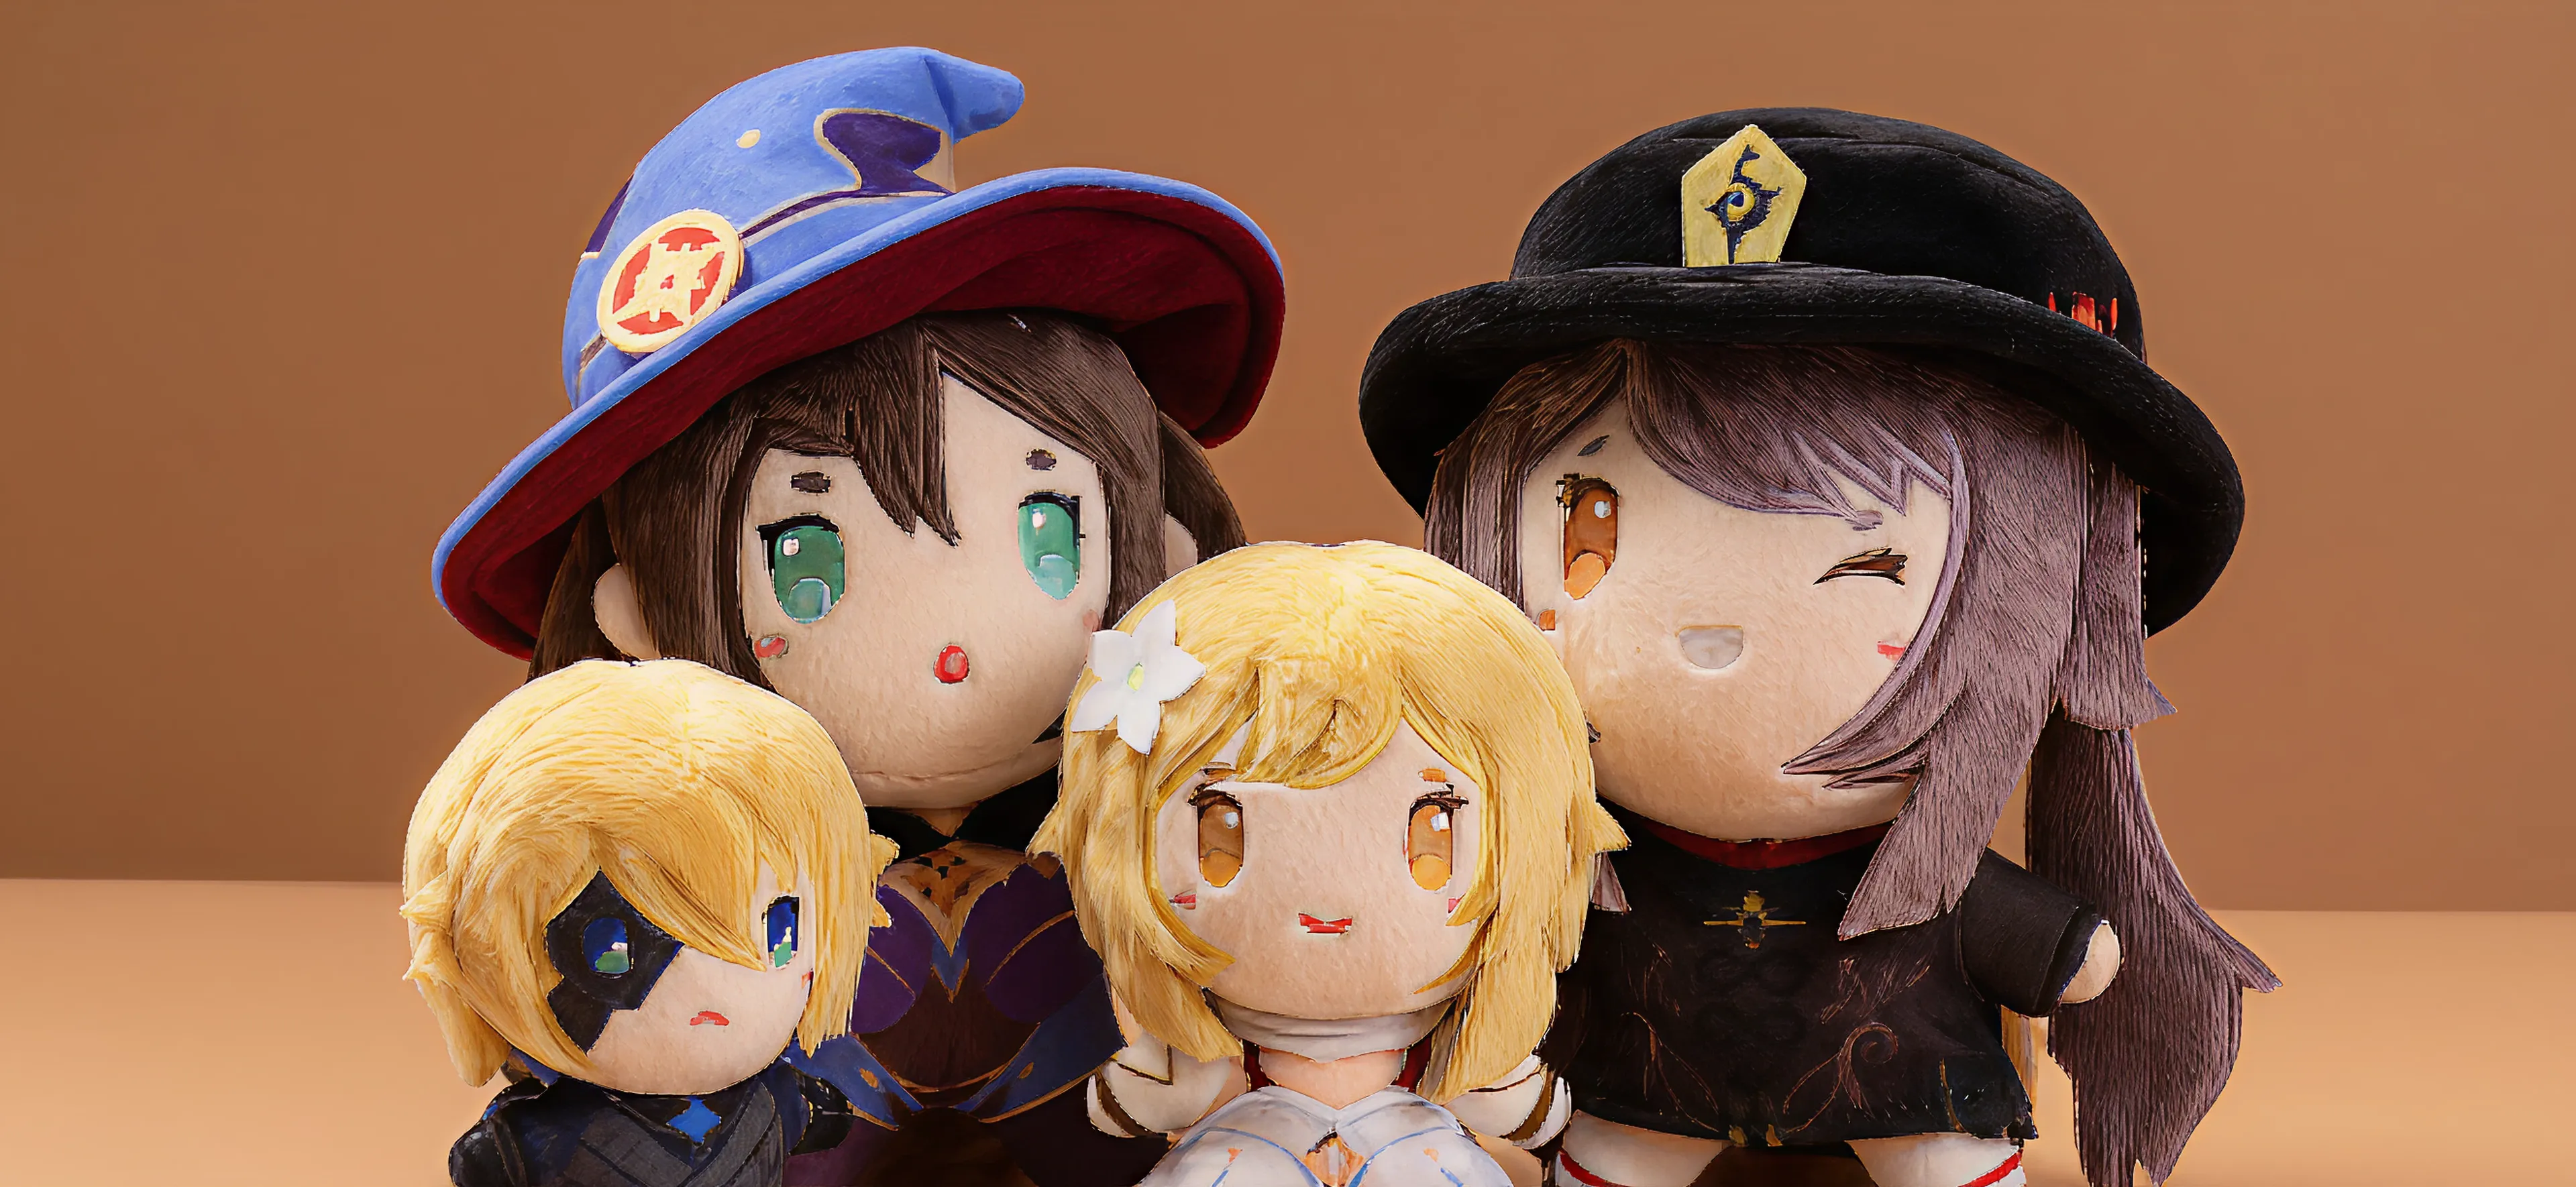
Artwork for plush works differently than artwork for a print or a sticker. A flat drawing is a 2D image; a plush toy is a stuffed 3D object, and the conversion is never one-to-one. A face that reads perfectly on screen shifts once the eyes and mouth are embroidered or appliquéd. Pile fabric softens edges and changes how a color looks. Fill rounds out shapes that were drawn flat. All of that is normal physics of turning a picture into a soft object, which is why we treat your artwork as the design intent we engineer toward rather than a literal blueprint to copy pixel for pixel.

What that means in practice: the more your file tells us about intent, the closer the first sample lands. Which features have to stay sharp, where the silhouette matters, how chubby or flat a body should sit. Where the file is ambiguous, the pattern maker fills the gap, and that gap is where most "it doesn't look like my character" problems start. Clear artwork plus a few honest notes about the hard parts beats one beautiful render with nothing written around it.

rectangle_388.webp

File Formats: What to Send, and What You Don't

Plush projects use two kinds of image files, and they do different jobs. Vector files are built from mathematical paths, so they scale to any size without going blurry. They are what we want for logos, text, line art, and anything that will be embroidered or printed. Raster files are made of pixels and have a fixed resolution. They suit painted artwork, gradients, and color reference, and they need to be high resolution (300 dpi or more at final size) to be useful. Plenty of buyers send both: a vector for the clean shapes and a raster for the full-color look.

File typeCommon formatsBest used forNotes
VectorAI, EPS, PDF, SVGLogos, text, line art, embroidered or printed detailsScales without quality loss; convert text to outlines before sending
RasterPNG, TIF, PSD, high-res JPGFull-color artwork, gradients, color and texture referenceUse 300 dpi or higher at final size; low-res web images often need a redraw
3D model (optional)OBJ, STL, FBX, STEPPrecise proportions and structure for complex or irregular shapesNot required, but speeds up pattern making and cuts revision rounds
Embroidery (we make these)DST, EMB, EXPDriving the embroidery machineYou don't supply these; we digitize your artwork into stitch files

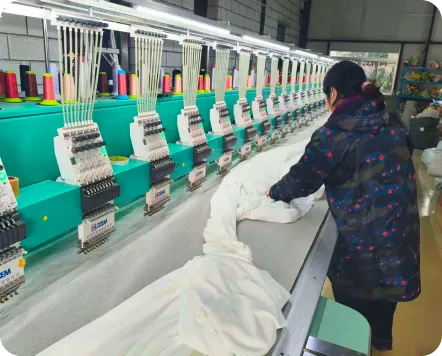
One point that saves a lot of confusion: you are not expected to hand over embroidery stitch files or sewing patterns. Converting your logo or a character's face into a stitch file (the digitizing step) and drafting the cutting pattern are both our work. What we need from you is clean source artwork to digitize from. If all you have is a JPG or a screenshot, send it anyway and we'll tell you whether it's usable as-is or needs redrawing into a clean vector first. A rough or low-resolution file isn't a dead end; it just adds a redraw step we should agree on up front.

Views: Front, Side, Back, and When to Send More

Because plush is a 360-degree object, one image is never enough. A front view alone leaves the back, the side profile, and the depth of every feature open to interpretation. The minimum we ask for is three views, front, side, and back, and four is better (front, back, left, right), with close-ups of anything that has to stay exact: the face, a logo, trims, accessories. For a standing or posed character, a clear side profile tells us how far a muzzle projects or how the body leans, which a front view can't show.

If your plush is based on an existing character, mascot, or licensed IP, send the official model sheet or turnaround art if you have it. Those drawings lock proportions and feature placement, which is what keeps the plush on-brand. We see this most with character plush and mascot work, where fans notice a few millimeters of difference in an eye position. The rule is simple: every angle you don't show is an angle we have to invent.

rectangle_389.webp

Size and Proportion Specs

Give us the target size in millimeters, not "small" or "about a foot." We need overall height, width, and depth, plus the dimensions of the features that drive the look: head width, limb length, ear size, tail placement. For anything with an unusual shape, more numbers are better.

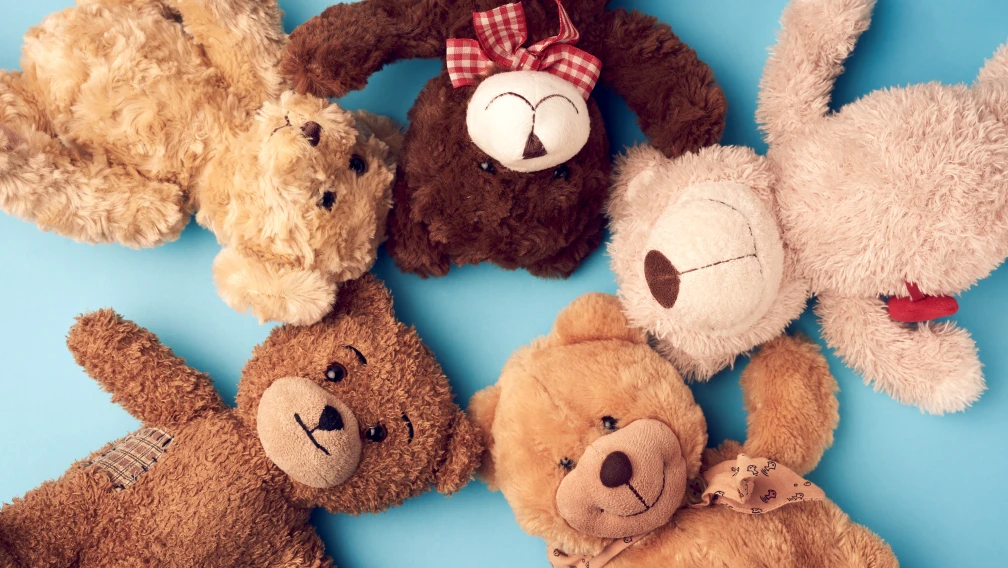
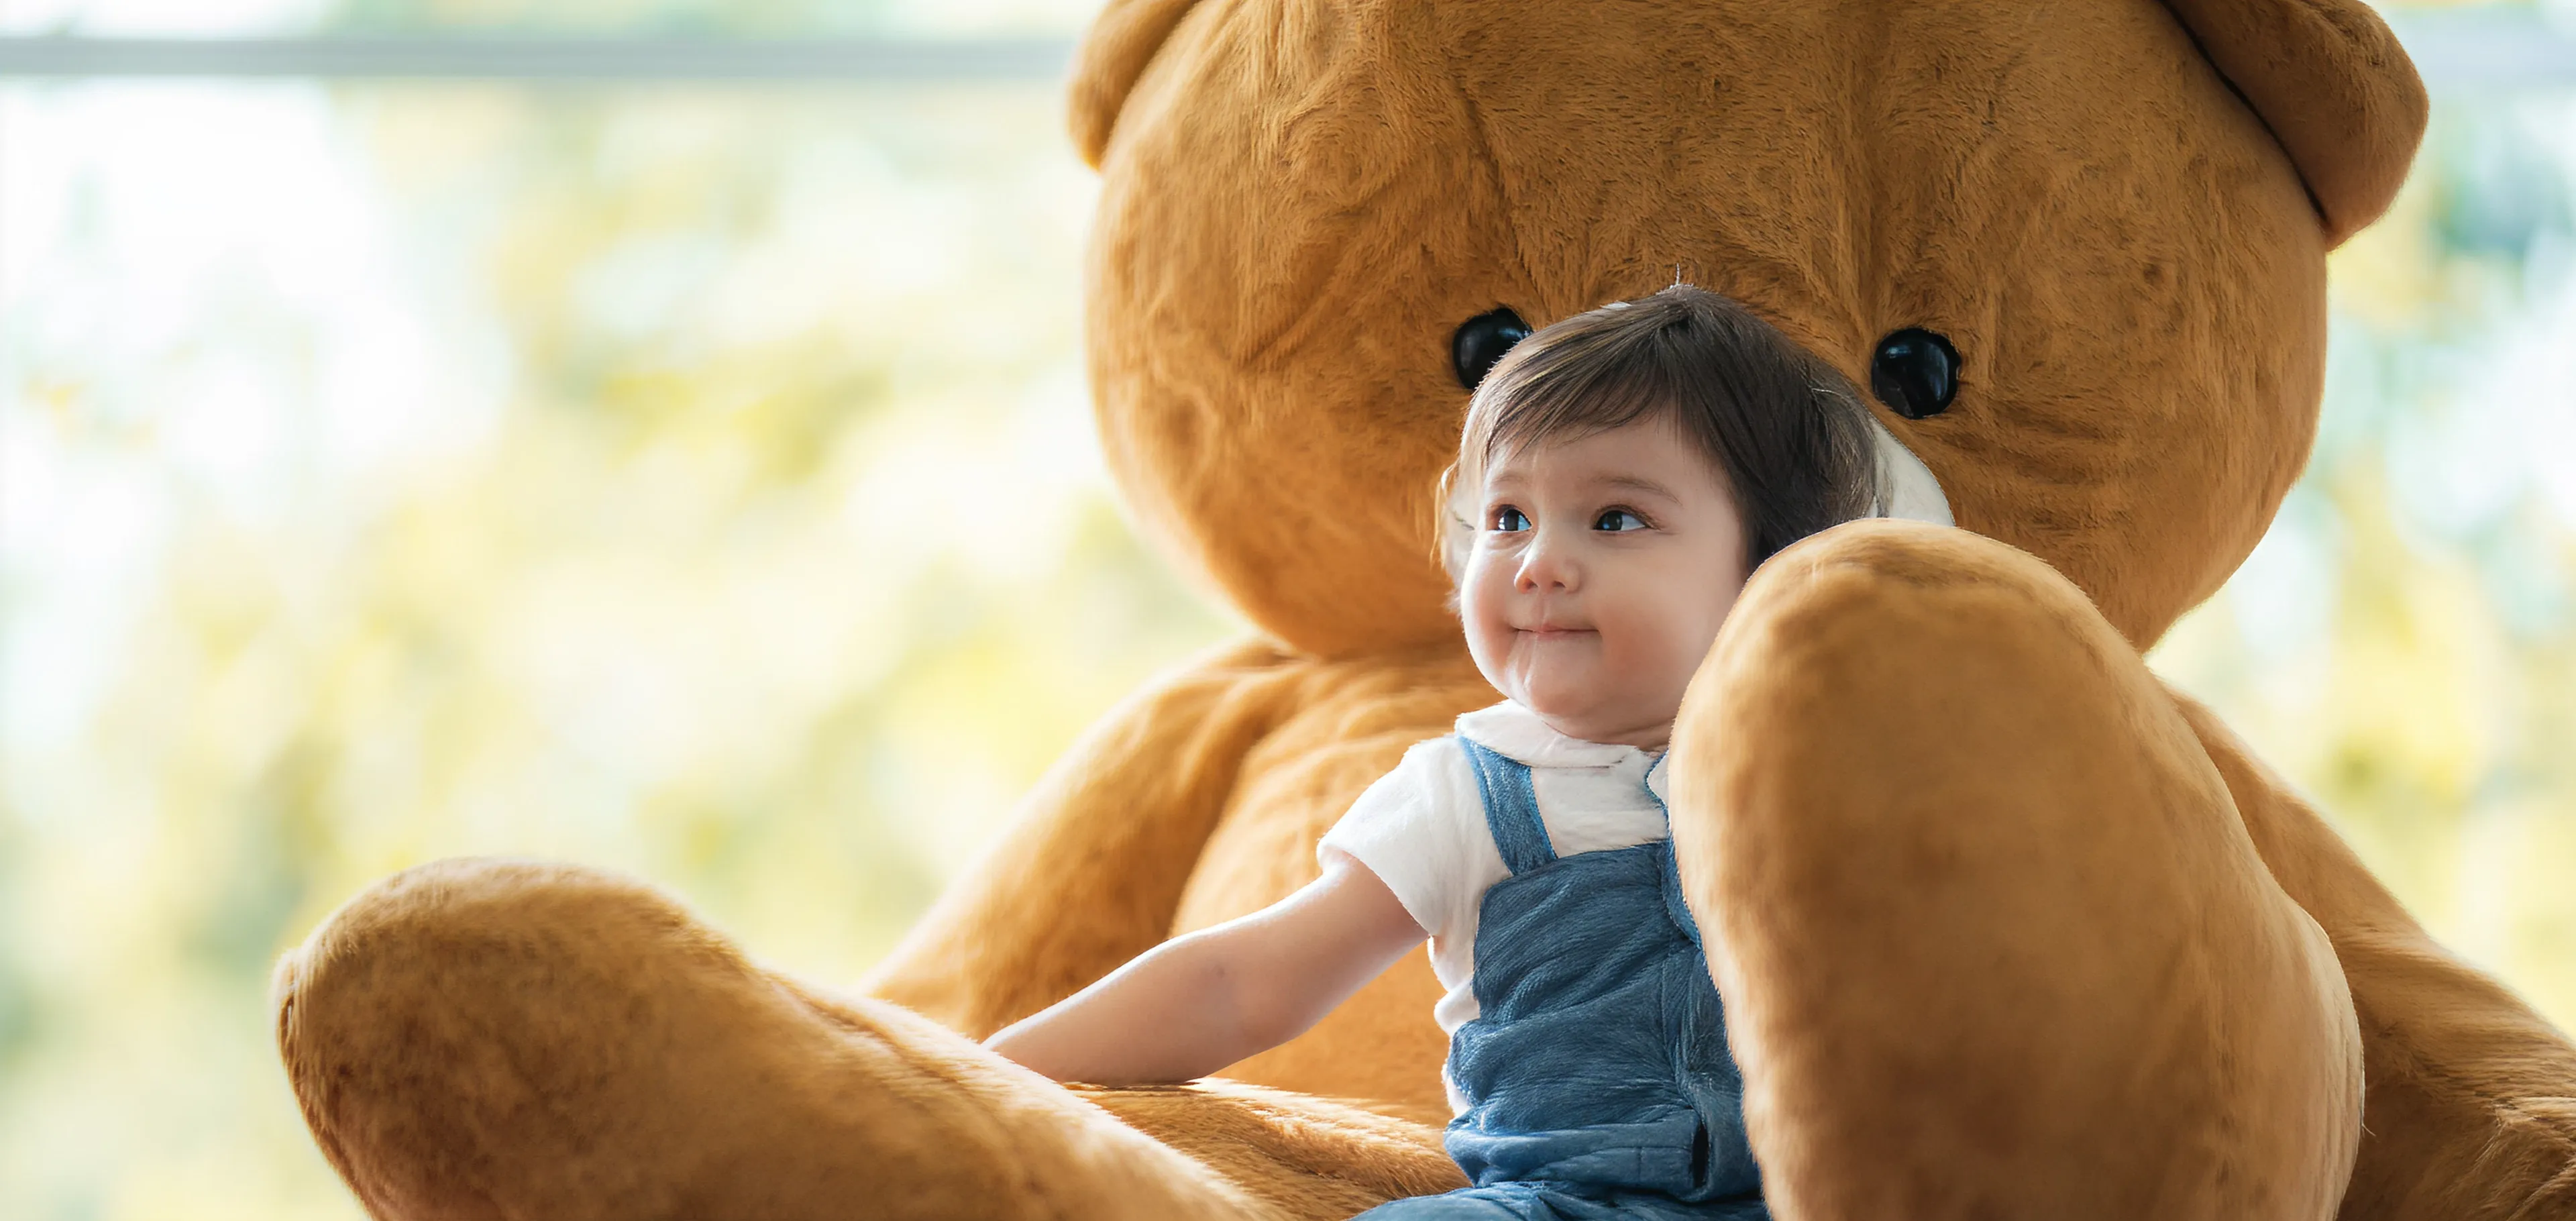
Proportion matters even more than absolute size, and head-to-body ratio is the clearest example. On a teddy bear, a head that's about a third of the body reads cute; push it to half and the same bear starts to look off. If a stylized character needs the head at 60% of total height, or ears set at a specific angle, write it on the artwork. These ratios are design decisions, and stating them up front keeps a sample from coming back technically correct but somehow "not the character." Larger pieces add their own structural questions. A giant plush has to hold its shape and stand without sagging, so size and internal support get planned together.

Color: Use Pantone, Not Screenshots

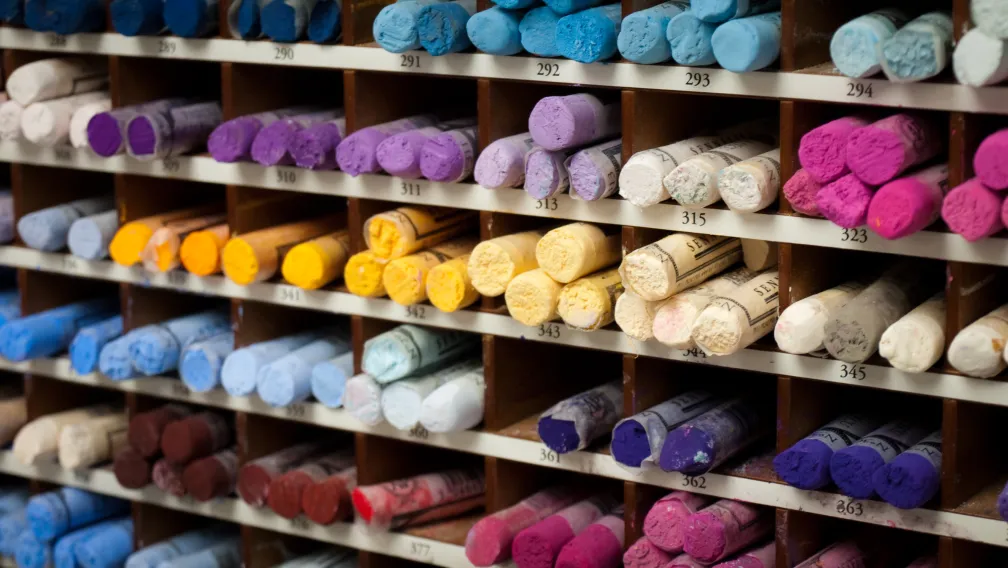
Screen color and fabric color rarely match. A shade that looks right on your monitor is RGB light; the plush is dyed fabric under room lighting, and the same "red" can land very differently on a fuzzy pile than on a flat screen. The fix is to specify color with Pantone references instead of a screenshot. For plush, the textile system (Pantone TPX/TCX) is the right reference for fabric, and embroidery thread gets matched to Pantone too so a face's stitched features come out in the intended colors.

How do we match color accurately? We work to your Pantone codes and then confirm against physical fabric swatches before bulk production. Code plus swatch, double-checked. The fabric itself shifts color slightly depending on pile and finish, so a swatch is the only way to confirm what the dye actually looks like on your material. For multi-color characters or gradients, we match each color zone separately. For repeat orders, we keep your approved color on file (a "golden" swatch and thread reference) so a reorder placed months later still matches the first run.

Fabric and Fill: Map Materials to Each Body Part

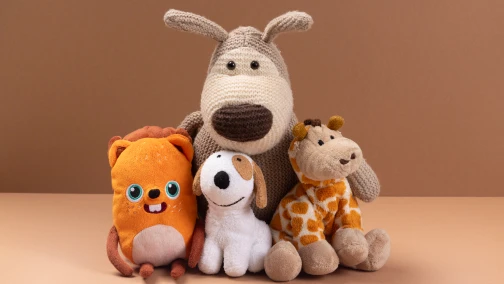
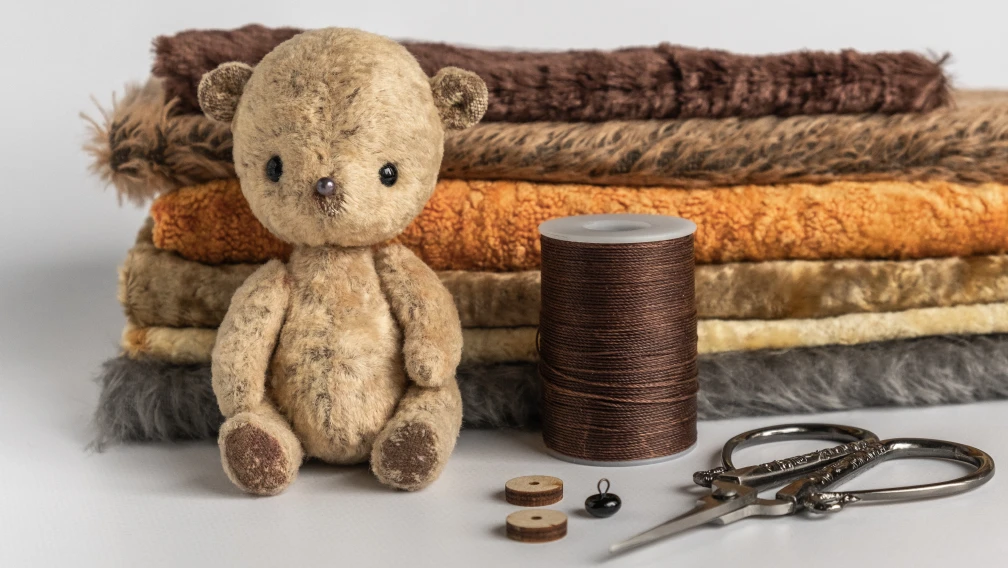
Most plush uses more than one fabric, and the cleanest briefs map a fabric to each part of the body. Telling us "soft and fuzzy" leaves a lot open. Telling us the body is one fabric, the inner ears another, and the tail a third removes the guesswork. For each fabric, the specs that matter are fiber type, pile height in millimeters, weight (GSM), stretch, and finish (matte or shiny). A short, clean pile takes embroidery crisply, which is why faces are often a different fabric from a long, fluffy body.

  • Face and embroidery zones: short-pile fabric (for example a 2 mm velboa or minky) so stitched eyes and mouths stay sharp
  • Body: medium pile for softness and a clean silhouette
  • Accents (ears, tail, mane): longer faux fur where you want texture and volume

Fill is the other half of how a plush feels. Standard PP cotton (polyester fiberfill) gives a soft, light, springy body and suits most toys; the amount and where it's packed decide whether a piece sits chubby, firm, or floppy. Some projects call for different fills: recycled fiber for an eco line, foam for a part that needs to hold a firm shape, or weighted pellets for a calming, heavier feel. Weighted plush uses pellets sealed inside stitched inner chambers instead of a loose or removable component, which keeps the weight contained and safe. Our materials range lists the fabrics and fills we keep on hand, and we'll flag early if a chosen fabric will fight the design.

rectangle_390.webp

Construction and Functional Notes

Construction notes tell our sewing team how the toy is built where the artwork can't. Useful things to specify: where seams should and shouldn't fall (a seam across a face is a problem), which stress points need reinforced stitching (limbs, neck, tail, and joints take the most pull), and any internal structure such as a wire armature for a poseable part, a firm insert to hold a pose, or sealed chambers for weighted fills.

Functional features each need a note and a placement. Call out whether limbs should be poseable or floppy, where a squeaker or rattle sits, whether there are magnets (for hands that clasp), pockets, removable clothing, or electronics like a sound module or LEDs. Anything hard or battery-powered changes both the construction and the safety plan, so it belongs in the brief from the start rather than as an afterthought once a sample exists.

Build Safety In From the Artwork

Safety is cheapest to handle at the design stage, before any fabric is cut, and the artwork is where several of those decisions get made. The biggest one for younger age grades is embroidered eyes and noses in place of glue-on plastic parts. Embroidery can't become a detachable small part, which is the most common reason a plush fails a choking check for children under three. If a design calls for plastic safety eyes, they have to be properly locked in and tested, and small loose trims are best designed out.

Material choice ties into safety too. Fabrics and fills need compliant chemical profiles, and that's easier to confirm before production than to discover after. Which market you're selling into sets the testing standard (EN 71 for the EU, ASTM F963 and CPSIA for the US, others by region), and that affects materials, construction, and labeling. Settle the target market early so the design is built to the right standard the first time. Our overview of safety and compliance walks through how this is handled per order.

From Files to Approved Sample

Once your files arrive, our pattern team reviews them for feasibility, flagging where a 2D detail won't translate cleanly and where a material or structure needs interpretation, then sends back a short design alignment note before cutting anything. That step catches mismatches between what you pictured and what the pattern will produce while changes are still cheap.
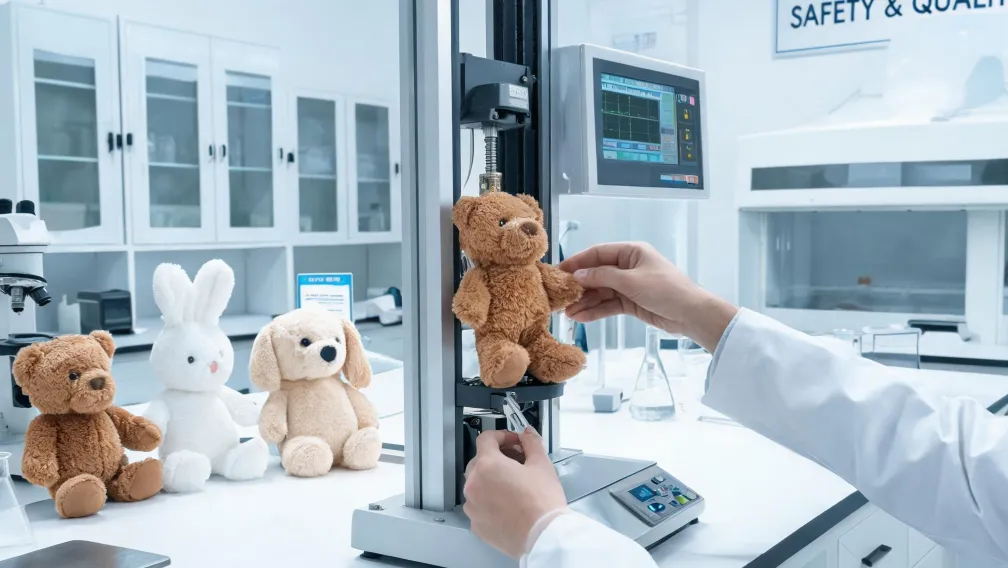
Why can't a plush be approved from artwork alone? Because texture, fill, and stitching change the look in ways a flat file can't show, and because the physical sample becomes the production standard. The approved sample is what every unit in the bulk run is measured against; color, hand-feel, fill density, and facial accuracy can only be judged on the real object. Once you sign off on a sample, we lock the bill of materials (the exact fabric, fill, eyes, thread, and accessories) so nothing substitutes quietly in production, and that sample stays the reference the bulk run is checked against. If you want the full sequence from sketch to shipment, our guide on how custom plush toys are made lays it out.
Pre-Submission Checklist

Before you send a project over, run through this. It's the same list we mentally check when a brief lands, and having it complete is what turns a thin first sample into an accurate one.

  • Artwork: vector files (AI, EPS, PDF, SVG) for logos and line art; high-res raster (PNG, TIF, PSD) for color and painted detail
  • Views: front, side, and back at minimum, four views and detail close-ups are better, model sheets for licensed characters
  • Size: overall height, width, and depth in millimeters, plus key feature dimensions
  • Proportions: head-to-body ratio and any critical angles or feature placements noted on the art
  • Color: Pantone codes (TPX/TCX for fabric), with the understanding we'll confirm against physical swatches
  • Fabric and fill: a fabric mapped to each body part, plus fill type and feel (soft, firm, weighted)
  • Construction: seam preferences, reinforcement points, internal structure, and any functional features with placements
  • Safety: target market and age grade, so the design is built to the right standard

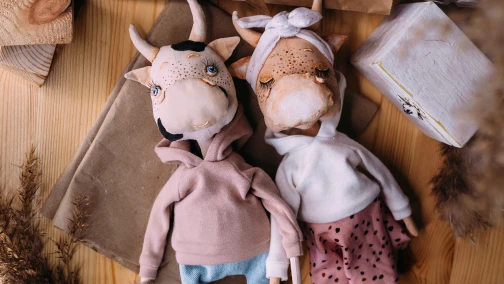
Don't have all of it? That's normal, and it isn't a blocker. Plenty of projects start from a single sketch or a rough idea, and our team builds the technical side. We do this constantly for custom plush animals and original characters that arrive as one drawing. The checklist is the ideal; a clear idea and a willingness to talk through the gaps is enough to start.

Send Us Your Plush Idea

If you have artwork, specs, or just a concept, we'll review it and tell you exactly what's production-ready and what needs filling in before sampling, with no guesswork passed downstream. As a factory-direct custom plush manufacturer, we keep design, pattern making, and production under one roof, so the file you send and the sample you approve stay the reference all the way to delivery. Tell us about your project and we'll map the artwork and specs you need for your target market before anything goes into production.

FAQ

What file format do you need for a custom plush toy?

Vector files (AI, EPS, PDF, SVG) are best for logos, text, and anything embroidered or printed, because they scale without losing quality. High-resolution raster files (PNG, TIF, PSD, or a sharp JPG at 300 dpi or more) work for full-color artwork and color reference. Sending both, a vector for clean shapes and a raster for the full-color look, gives us the most to work from. If you only have a low-resolution image, we can still use it, though it may need redrawing into a vector first.

Do I need to send an embroidery or DST file?

No. Converting your artwork into a stitch file (digitizing) and drafting the sewing pattern are both done on our side. Embroidery formats like DST, EXP, and EMB are machine files we generate from your source artwork. What you provide is clean artwork, vector for sharp linework and high-res raster for color, and we handle the conversion.

How many views do you need to make a plush toy?

Three at minimum: front, side, and back. Four is better (front, back, left, right), plus close-ups of the face, logos, or any detail that has to stay exact. Plush is a 360-degree object, so any angle you don't show has to be interpreted by the pattern maker. For licensed or existing characters, an official model sheet or turnaround drawing keeps proportions on-brand.

Why do you need Pantone colors instead of a picture?

Screen color is RGB light and won't match dyed fabric under room lighting; the same shade can look different on pile fabric than on a monitor. Pantone codes (the textile TPX/TCX system for plush) give a fixed reference we can match to, and we confirm it against physical fabric swatches before bulk production. Code plus swatch is how color stays consistent across a run and across future reorders.

Can you make a plush toy from one photo or a single drawing?

Often yes, with the understanding that a single image leaves the other angles and the depth of each feature open to interpretation. We can develop the missing views and the 3D structure from one reference, then confirm direction with you before sampling. More views and notes get the first sample closer, but a single clear drawing is a valid starting point, and we do it regularly for original characters and animals.

Do I need a finished tech pack to start?

No. A complete tech pack speeds things up and reduces revisions, but it isn't required to begin. If you have a partial spec, we'll review and complete it; if you have only a concept or sketch, our team builds the technical side, patterns, proportions, fabric mapping, and color references, from your reference and a short discussion. Most projects land somewhere between a finished tech pack and a rough idea.

Ethan Mark

Author

Ethan Mark

Co-founder & Product Director

Ethan Mark co-founded Maris Plush in 2008 and leads product development across all custom plush categories. With 17 years in the industry, he oversees design, sampling, and production for clients in 30+ countries. LinkedIn

Contents